

It can be a lot of fun to garden in your backyard during the summertime, but what do you do when it rains? You can build a mini greenhouse outdoor to keep your plants happy and healthy. So, before you look for “mini greenhouse for sale”, let’s read the article.
Section 1: What You’ll Need?
If you’re looking to build your own mini greenhouse this summer, you’ll need the following supplies: a sturdy table or bench, some wood screws, a drill and a saw, some plastic sheeting or tarp, and a garden hose.
First, measure the width of your table or bench and cut two pieces of wood that are the same width. Screw one piece of wood to each end of the table or bench using screws that are about 1 inch long. Make sure that the screw heads are facing outwards so that water can easily drain from your mini greenhouse.
Next, cover one side of your table or bench with plastic sheeting or tarp. Cut a hole in the center of the plastic sheeting or tarp so that the water drainage hole is visible.
Now, fill your mini greenhouse with potting soil and plants of your choice. Make sure to water the plants well and keep an eye on the mini greenhouse to make sure that it remains moist. Enjoy your mini greenhouse outdoors this summer!
Section 2: How to Build the Mini Greenhouse Outdoor
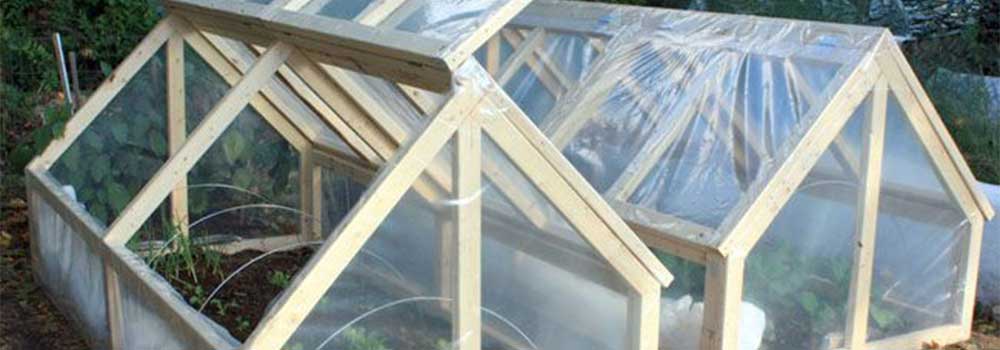
Building a mini greenhouse outdoor is a fun project that can be done in just a few hours. The materials needed are inexpensive and can be found at any hardware store. The only special tool needed is a saw, and the entire project can be completed without any prior construction experience.
1. Begin by measuring the width of your table or bench and cutting two pieces of wood that are the same width. Screw one piece of wood to each end of the table or bench using screws that are about 1 inch long. Make sure that the screw heads are facing outwards so that water can easily drain from your mini greenhouse.
2. Cover one side of your table or bench with plastic sheeting or tarp. Cut a hole in the center of the plastic sheeting or tarp so that the water drainage hole is visible.
3. Now, fill your mini greenhouse with potting soil and plants of your choice. Make sure to water the plants well and keep an eye on the mini greenhouse to make sure that it remains moist. Enjoy your mini greenhouse outdoors this summer!
Section 3: Tips for Maintaining Your Mini Greenhouse Outdoor
A mini greenhouse is a great way to extend the growing season, and this DIY project will show you how to build one yourself. Follow these tips for keeping your mini greenhouse in good condition:
1. Keep the soil moist but not soggy. Too much moisture can lead to fungal growth, while too little can cause the plants to dry out. Use a moisture meter to test the soil every few weeks and adjust watering accordingly.
2. Protect the plants from wind and rain. A mini greenhouse is not meant to be an outdoor shelter, so make sure it’s well-protected from strong winds and heavy rains. A sturdy roof or wall can help keep the elements out, while awnings or curtains can help keep the sun and rain out.
3. Check the plants regularly for pests and diseases. A mini greenhouse is a great place to grow plants, but it’s not immune to pests and diseases. Make sure to keep an eye on your plants for signs of damage or infection, and take appropriate steps if necessary.
With a little bit of work, you can create a mini greenhouse outdoor that will keep your plants happy and healthy all summer long!


